A következő címkéjű bejegyzések mutatása: Makettügyek. Összes bejegyzés megjelenítése

2018. november 7., szerda

Pre-primer pictures

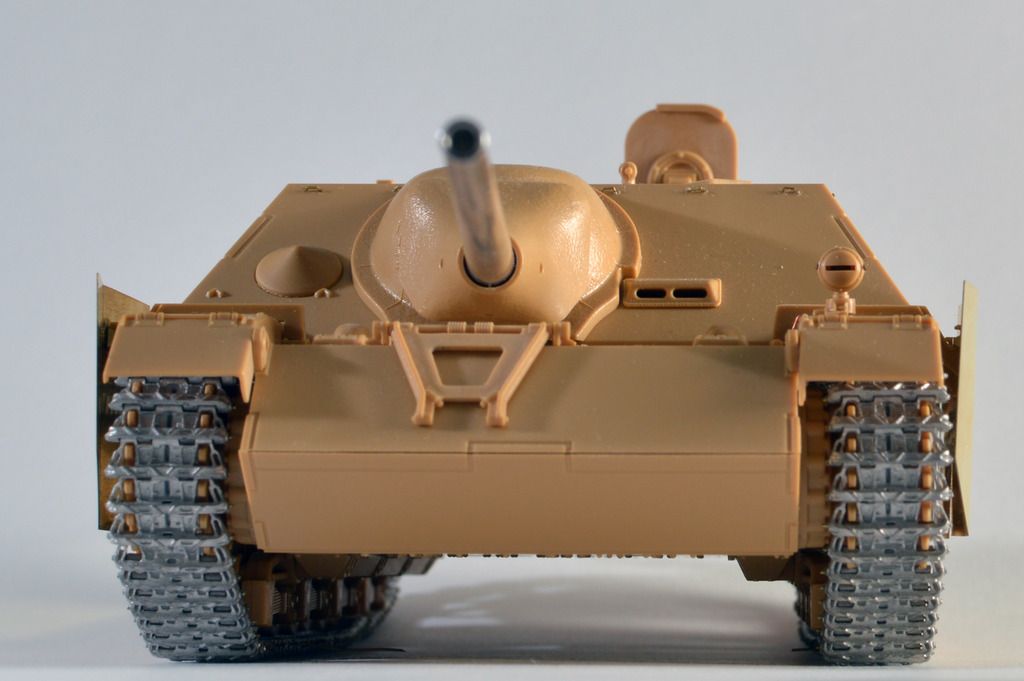
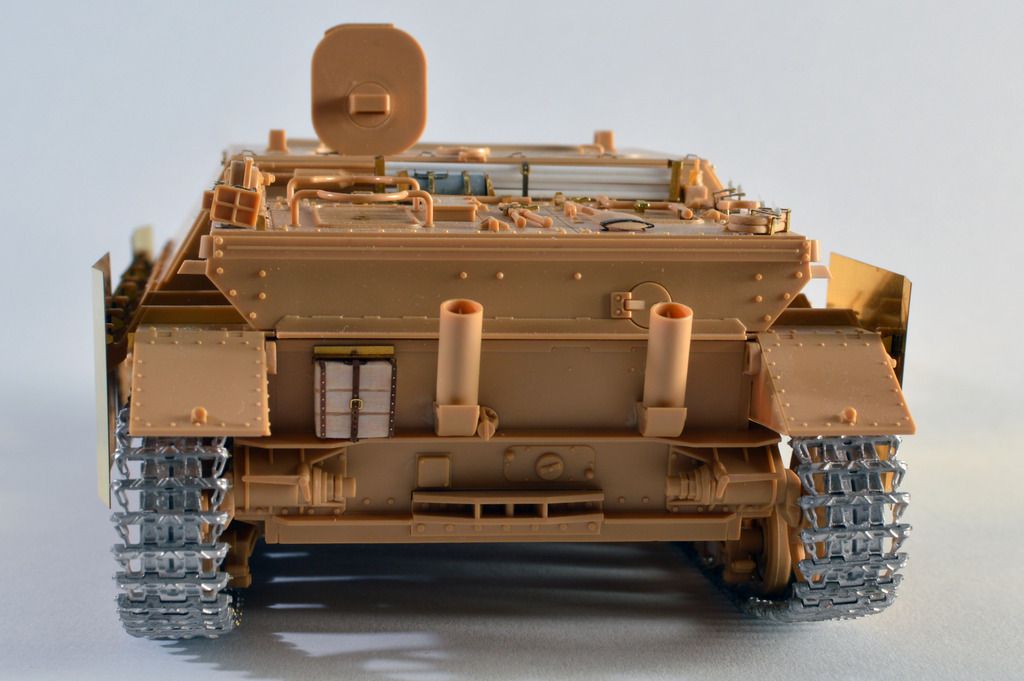
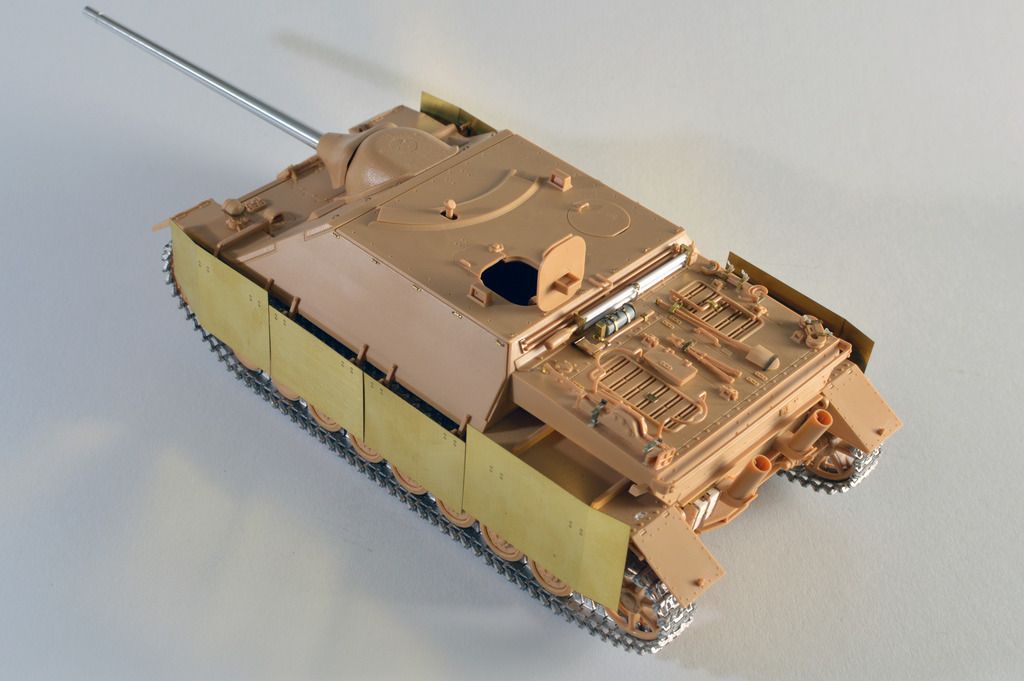
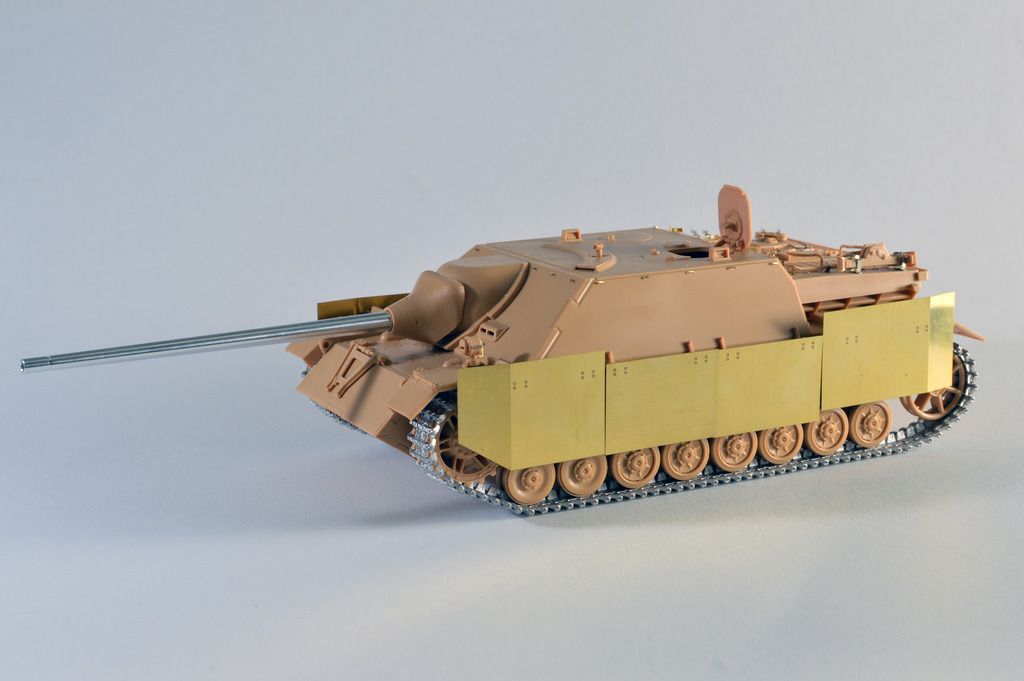
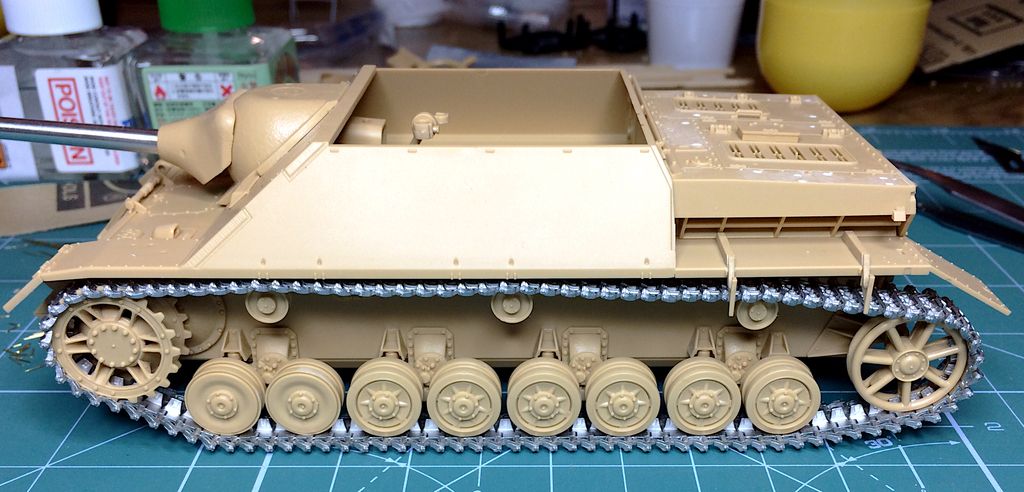
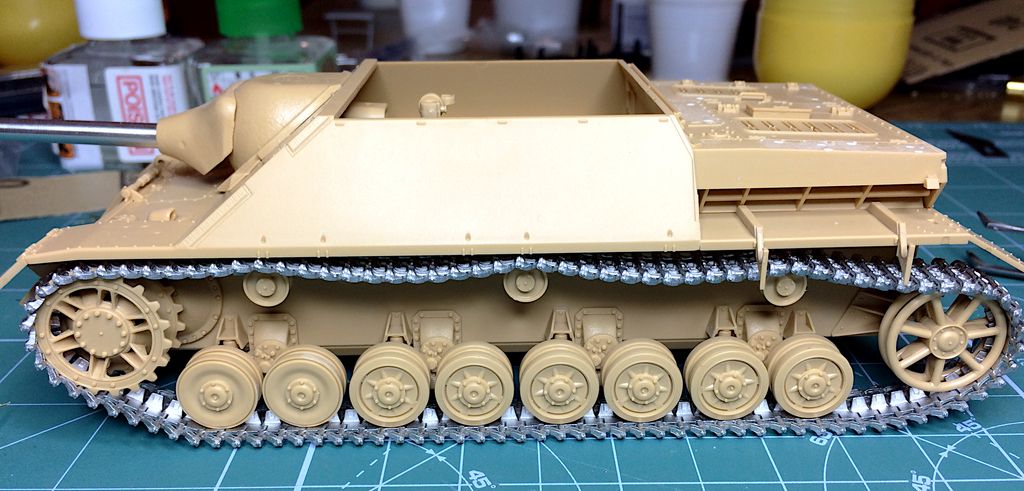
Hosszú vajúdás után végre összeraktam a járművet. Már csak annyi hibádzik, hogy ha a festéssel készen vagyok, akkor a rádió drótozását be kell fejeznem, azt is lefesteni, és összeragasztani a tornyot, a löveget és a jármű testet. De egyelőre örvendezzünk annak, hogy az építés 99%-ban készen van, jöhet a festés. Az apróságok, amiket ebben a posztban változtatásként célul tűztem ki magam elé, mind sikeresen megoldásra kerültek.

It was a long time to build it but the vehicle is 99% ready. The only remaining build task is to apply the wiring to the radio after finishing the general paint session. Following that I will glue the upper and lower hull together with the gun. I am pleased as I successfully applied all the changes what I set as a goal in this post to replicate the No. 35 vehicle as truly as possible...


2018. október 1., hétfő

World Wide Weld

A Dragon készleteken elég jól látható hegesztési varratok szoktak lenni, és nem is szoktam piszkálni őket. De ezen a Panzer I B alapon nyugvó járművön néhány helyen sajnos annyira rossz helyen van a "gyári", hogy a csiszolás közben megsérül, vagy el is tűnik - főleg az illeszkedési hézagok környékén jellemző ez. A jármű hátsó traktusán alul pedig teljesen hiányzik mindenféle varrat, gondoltam, ezeket pótolni szükséges...

Weld beads are well pronounced on the typical Dragon kits. This is the case with the Panzerjäger I too. But some welds are at places where they are ruined when filling/sanding gaps so I had to reproduce them. And on the lower-back hull the welding is completely missing...


Első körben megpróbálkoztam a Tamiya folyékony ragasztóval puhított műanyag szikével történő "hegesztésítésével". De nem tetszett az eredmény, nagyon nem. Úgyhogy elővettem a dobozból a régen rendelt Archer matricát, és tádááám, ez már hat fokozattal szebb volt. A különbség jól látható az alábbi képen:

At first I tried the stretched sprue with Tamiya liquid cement method but I was not satisfied with the result. So-so but not what I wanted. I picked Archer's weld decals and NOW it looked nice. The difference is stunning: 


Szóval lelkesen körbehegesztettem a járgány alsó részét, meg ahol még szükségesnek láttam. Az Archer matrica (műgyanta varrat matricafilmen) könnyen használható, méretre vágva és némi áztatás után egy kis Decal Setter folyadékkal megerősítve szépen tapad, még görbülő felületeken is. Néhol van egy kis ezüstös csillogás száradás után, de ez meg tökmindegy, mert úgyis le lesz festve, nemdebár? Szóval ajánlom meleg szívvel minden "műanyaghegesztőnek"!

So I "welded" the lower parts and wherever it was needed. The Archer decal is very easy to handle. You only have to cut the required length and glue it to its place even if curved. Some decal setter is recommended to strengthen the glue. Never mind the solid silvering - it will be painted after all... So I strongly recommend Archer's resin decal weld beads to all whom is interested!


2018. szeptember 26., szerda

Radio set - the correct one...

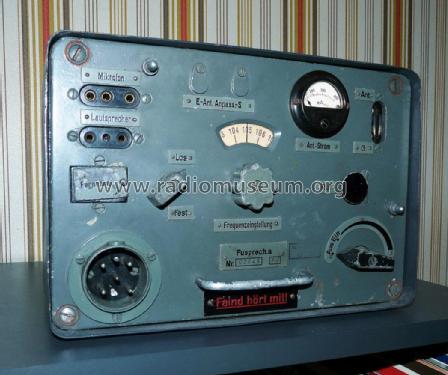
Végre megtaláltam, hogy milyen rádió is volt a Panzerjäger I-ben, amit igyekszem lemakettizálni. A Nuts and Boltsban többször is átfutottam a szöveget, és egészen eddig nem is jutott eszembe, hogy a "Funksprechgerät a" az egy készülék típus, és igenis fontos az a kis "a" betű... így máris megtaláltam: így néz ki a rádiókészülék.
Halleluja!
És ami még jobb, hogy korábban írtam a kacatos dobozban heverő rádiókészülékekről, és lám, mi az első kép, jó közelítéssel? Hát pont ez, a Fuspreh.a!

Finally I just found out what type of radio was mounted in the later version of the Panzerjäger I - the one that I want to build. I read the Nuts and Bolts but was not careful enough: it mentioned "Funksprechgerät a" but I thought that it is only a german name for radios BUT there is that little "a" - and that is the solution. I have found some pictures of the radio here.
And the best in all is that I have one of these Fuspreh.a radios in my spares box as I was even thinking about that earlier... though there I thought that this radio is only fictional... Hallelujah!

2017. október 17., kedd

Kübelwagen story #1

A Kübelwagen egy nagyon szerethető makett, nem csak a formája, hanem a Tamiya szokásos minőségű tervezése és kivitelezése miatt is. Egy-két részt már összeraktam, egyelőre várok a motor szettre, ami holnap talán már itt is lesz. Az Aber feljavításból nem mindent fogok felhasználni, a fordítható első kerekeket például nem, de a tetőponyva működő "rudazatát" azt lehet, hogy igen, még nem döntöttem el. Addig is apróbb feljavításokon szöszölök, mint például az üzemanyagtartály, ami szerintem jobban néz ki rézzel.

Egyelőre azon is töröm a fejem, hogy a festést hogyan végezzem. A belső részeket nagyon nehéz, sőt lehetetlen lefújni, ha összeraktam, szóval lehet, hogy apránként festem majd, meglátom.
Addig is a jelenlegi állapot, és némi frissen beszerzett eszköz. A Tamiya vágó kiváltképp a kedvencem.


I've started the Kübelwagen and as always it's amazing to see Tamiya kits to fit perfectly, almost without gluing. I'm waiting for the engine set so only smaller sub assemblies are in progress but I use some of the Aber PE. I skipped the working first wheel steering mechanism but planning to do the canvas holder, also working one. In the meanwhile I just acquired some new tools. The Tamiya cutter is my new favourite. Sharp and nice pointy - I can cut parts so nicely that hardly any cleaning is required...


2017. október 8., vasárnap

Kübelwagen

Igen, tudom, hogy legutóbb azt említettem, hogy nem kezdek újabb kampányba, de hát én már csak ennyire vagyok határozott, és előrelátó. Bizonyítékul a T-35 téli álcáját hadd idézzem, és hosszú még a sor. A lényeg, hogy arra jutottam, egy Kübelwagen jól mutatna a Jagdpanzer soha el nem készülő diorámáján, és ha már pont van egy témába vágó kampány, akkor miért is ne? Addig is, amíg várom a maratást a Kettenkradhoz, legalább lesz mit csinálnom.

Well, though I said "no campaign nowadays" I proved that my certainty is standing on very weak foundations. I thought that a Kübelwagen would be a nice addition to the never-to-be-finished Jagdpanzer diorama. And there is a Jeeps! campaign on armorama... so why not? It will be a quite simple and straightforward build, not too many parts and a Tamiya kit which means speed, or something like that. And at least there is something to do while I wait the PE set for the Kettenkrad...


2017. június 6., kedd

Track problem

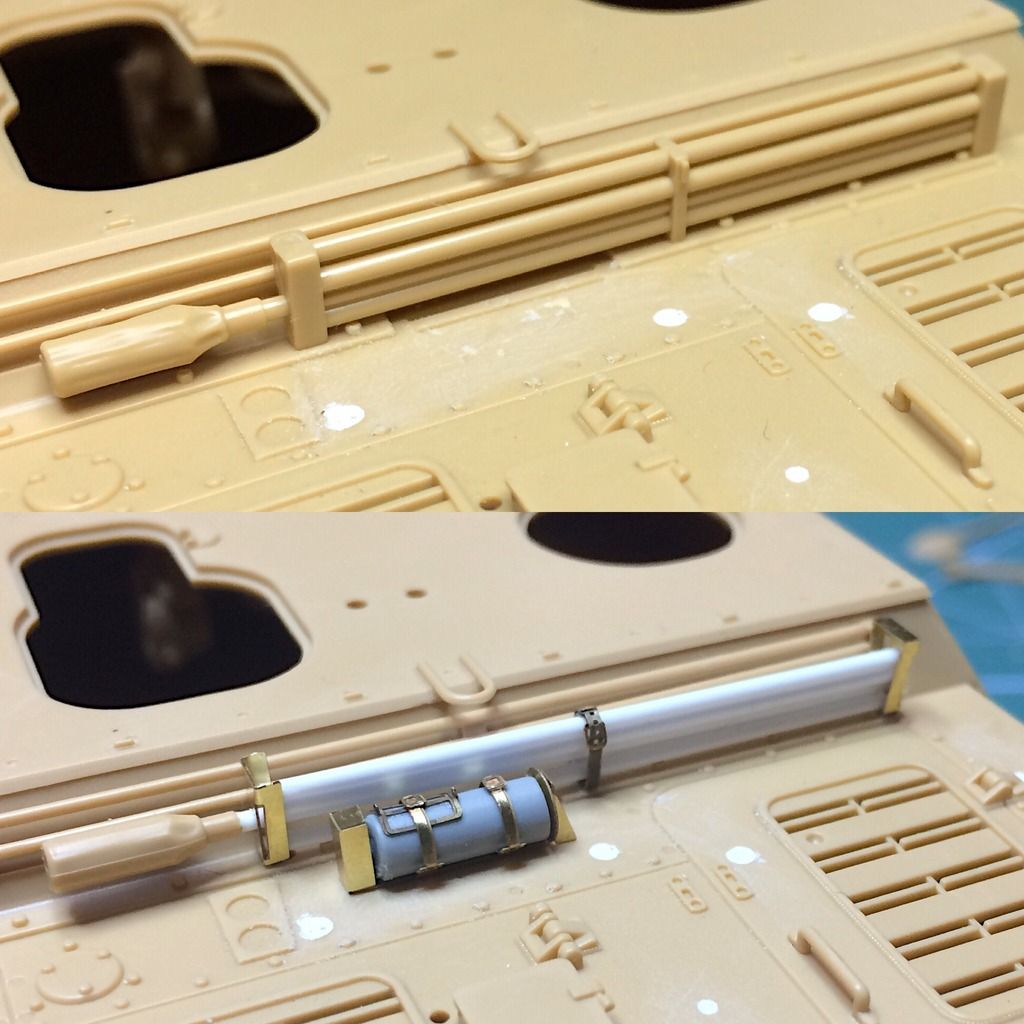
I bought my Friul set for this kit second hand. And that is now why I can not complain at the producer that the kit consisted of two bags of tracks. Both left side. Arrrgh... should I use it or throw it out? The only difference is the track pin - on the right side I should correct it somehow. Tiny putty blobs, or whatever... but anyway, it is annoying a little.
2017. május 22., hétfő

PE problem

I've tried to use Voyager PE but soon had to give it up. The separator panels between the wheels are very bulky and ugly right from the set. The PE would look way better and far more accurate in scale. The problems are tough:
- it is wider than the kit part and to cut/shape it would be pain (eight times...)
- it has no real surface to glue. I tried with small L shaped brass strips but were still too fragile
So finally I decided to use the kit parts. The first pair has been sanded to let the first return roller work but the other three pairs were left as they were. Hardly will be visible when finished.
Otherwise the kit goes together swiftly. Not a Tamiya kit but far better than I expected.


2017. május 15., hétfő

It's huge

Compared to my previous builds the T-35 is huge. It seems that the lower hull is slowly closing to the finish but now I have the big question: to use or not to use. The photoetched side armor / running gear cover. With thousand bolt heads which need to be individually glued/soldered. I'm not convinced that the PE would add so much to the final visual result to worth several hours of eye-popping bolt-head-job. The kit armor piece is nicely moulded and fairly represents the original (according to the few photos I have) and... well... I'm not a time-billionaire. Unfortunately. So I'll go with the kit side (and wasted some money on the PE...).
So far here we are:


2017. április 23., vasárnap

New project: T-35

Well, a little pause after the Jagdpanzer (figures and diorama is a side-project, still in feasibility phase). Another campaign on armorama.com is the "Landships" where I enlisted a few months ago. Time-pressure is my big old friend and that is why I thought 4 months will (must) be enough for this monster. I bought some PE stuff but after an hour of learning the instructions and checking the plastic parts I am not convinced about the running gear / side plate PE parts... I'll see. But that big pack may be left out of this project. Painting will not be an issue - green. Tracks look quite OK in the kit but I have Friuls as well. So, let's begin... again, a lot of wheels but this time a lot of turrets, as well :)

2017. április 20., csütörtök

Jagdpanzer IV finished (99.8%)

And I've been successful - the armorama campaign deadline is 30th April and I finished this Jpz days before it :) Though some touch-ups are still required. The upper plate is not glued yet - I plan to include figures there so the periscope tube ending is not glued on. Also noticed that I forgot to paint the steel return rollers to some shiny metal finis. The tracks are quite OK but more dust and weathering will be applied later on the lower parts. As soon as I decide about the diorama settings these final-final steps will be made.
Overall I am pleased. I finished in time. The result is pleasing if I look at it. Subtle weathering - I don't want to hide any nice details. The Friul was a waste of money and time. It is beautiful but it is not visible because of the Schürzen. One of them is intentionally missing to show up at least a section of the track... This was a fast and pleasing build and made me motivated about modelling again.
---
Due to the PhotoBucket issue, the pictures to be found here: https://muanyagforgacs.blogspot.hu/2017/04/weathering-report.html

2017. április 10., hétfő

Weather(ing) report

After a short pause (some renovation of the modelling/hobby room in the house) I continued with the weathering. No clear plan to follow. I apply different products and then check the result and apply some other products to reach some variation. Up until now I faded the colors with oils and used AK Interactive's light dust deposit (cool stuff, really), washed the vehicle with AmmoMIG brown wash and weathered the lower hull with ProModeller wash plus some oils. And of course the old classic: MIG Productions pigments - these will be used instead of the general pre-dusting with airbrush and I'll dirt the tracks with them, too, to achieve somewhat consistent look at the end. I still have some chance to finish until 30th April (and get that Campaign Ribbon on armorama.com) so my motivation increases day by day. What I have to do to finish:
- painting the tools on the rear deck
- painting the visors
- paint/weather the exhaust and the jack-block
- weather the skirts (and decide: to use nor not to use all of them as they hide the tracks - and if the hide than it proves to be an unnecessary effort to have them from Friuls)
That seems to be possible in almost three weeks.
And some pics from the weathering phase:


2017. március 29., szerda

Rotbraun done

Well, this camo turns out to be interesting. Historically not correct but as I don't try to imitate any specific vehicle, I don't really mind the issue. If I were a "rivet counter" than maybe I would worry more about the historical issue but...
So. It is too reddish to my eyes but later it will fade and change. I sprayed a light gloss cote to prepare for the markings but the pics are "before-cote".
Regarding the paint: AmmoMIG paint is OK for large surface painting but it was really annoying to use it with the 0.2mm needle for precision painting. Every 20 second it clogged the needle (though I used its own thinner in 2 parts paint : 1 part thinner ratio) - the finish is nice, and it levels smoothly but I hate when I have to stop to clear the needle or when sudden "bubbles" burst out of the airbrush and make spider-like results which are hard to correct. Nonetheless the basic painting is finished. Now let's get to the weathering. Not too much as I don't like nowadays' trend of over-weathering everything - covering details with mud saying "the real vehicles are really dirty". But these are models. And I like to see the details not the mud effects :)


2017. február 23., csütörtök

Jagdpanzer IV --> 99.5%

I love this beast. One of my favourite WWII vehicles with its low profile and dangerous gun. The build is almost ready. Really few parts need to be glued on - spare wheels, convoy light, a few links of spare tracks to the rear deck holder, chains and... and it seems, nothing else. I hope next week it will be primed and painting will start.


2016. december 14., szerda

Almost ready for priming

Now some minor upgrades (clamps around the roof, etc) and I can prime it. In the background I'm doing some research about the camo schemes for the Jagdpanzer IV... It'll be hard to choose :)

2016. december 5., hétfő

Ammo

No time, lost tempo, lack of motivation. I feel stuck. But spent some money on aftermarket stuff, this time ammunition. Don't know which of them will be used if I use any of them at all. I'm thinking on it. Open hatches would require some minimal interior work (too visible empty interior is not nice) and an ammo loading crew would mean open hatches. Or whatever. Another stuck-point is the paint scheme. Hard edge camo? Soft edge? Disc camo? I need to meditate...

2016. október 24., hétfő

Tools and things

Friuls ready. Now the tools on the rear deck... I clean the kit parts from the moulded-on details to be replaced by PE. The barrel cleaning rod was schratched from plastruct rods and looks nice (though the original kit part looked well, too).

Fire extinguisher was from the stash (some of the Dragon kits had a redundant one) and also looks better than the also good kit part.

2016. október 12., szerda

Jagdpanzer - Friul tracks

My first ever Friul track assembled and test-fit. It sits perfectly and looks like after the first try:
 
Looked a bit too tight (though wartime photos show this kind of tight tracks sometimes) so I added one more link. Now it's much better:

And as this is only one side, I started to prepare (minimal cleaning and drilling) the next side as well. Hope finish with it till the weekend.


2016. október 6., csütörtök

Ghost from the past

As I uninstalled WoT from my laptop, a lot of free time (?) dropped to me - at least 20 minutes per day :) I just thought it would be great to finish one of my favourites, the Stuart. Some stowage was added, and MG + antenna will be put on soon - and finally I collect my willpower and paint those two tankers - and some dioramic background with palm trees and jungle vegetations similar to Makin atoll's natural environment...

2016. október 3., hétfő

Cleaning the rear deck

Small update at the weekend: I started to cut parts and fill holes on the rear deck to enable the fitting of upgraded tools with PE clamps, holders, etc. Not a visually interesting step but I put a pic here for the record...

2016. szeptember 29., csütörtök

Test fit

Well, it turns out to be one of my fastest builds. Thanks, Tamiya! Finally I found some pin marks on some of the parts to clean up but overall the kit is unbelievable. Engineering masterclass. The upper part is test fitted - and to be honest, it would be let this way, without glue because the fit is 100% perfect and fix. Now comes the upgrade session, the tools on the rear of the model with the PE and the Schürzen. I can hardly wait :)