A következő címkéjű bejegyzések mutatása: Photoetch. Összes bejegyzés megjelenítése

2018. november 7., szerda

Pre-primer pictures

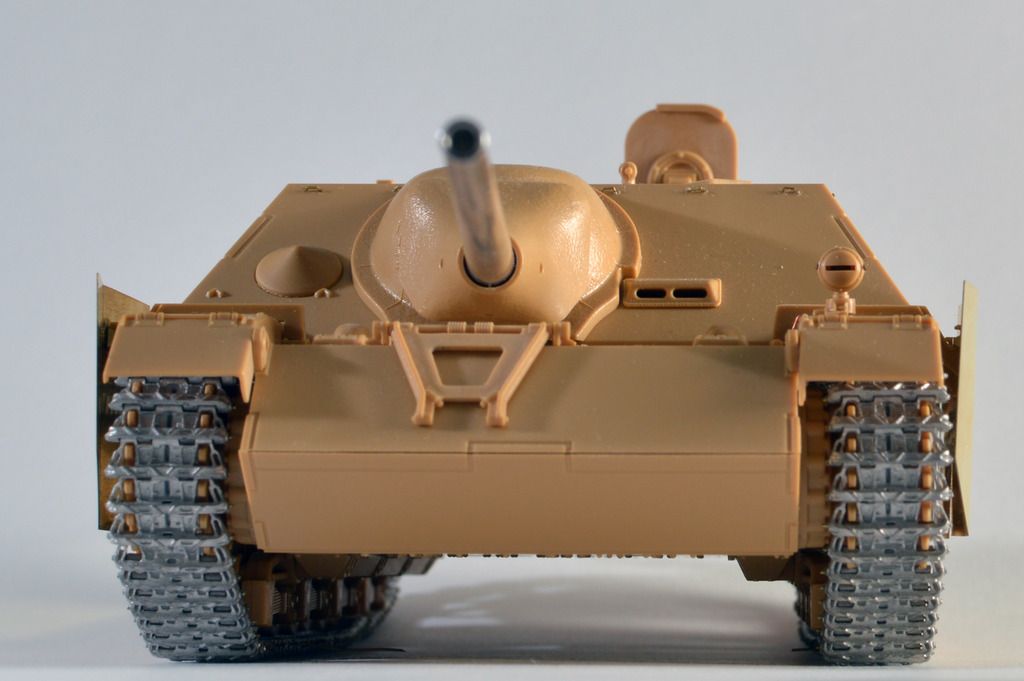
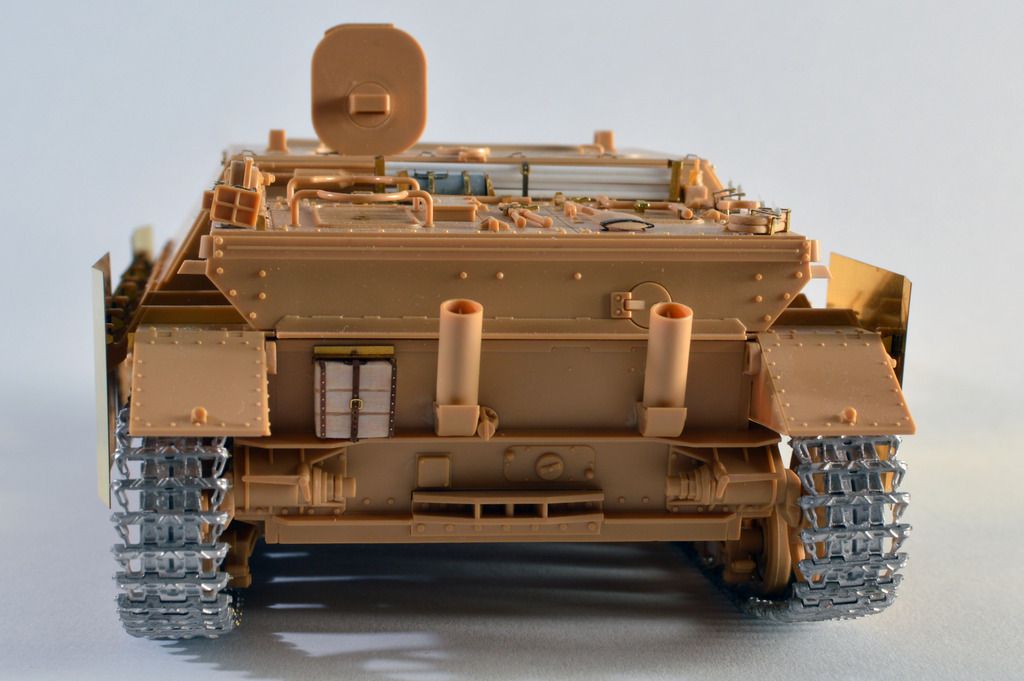
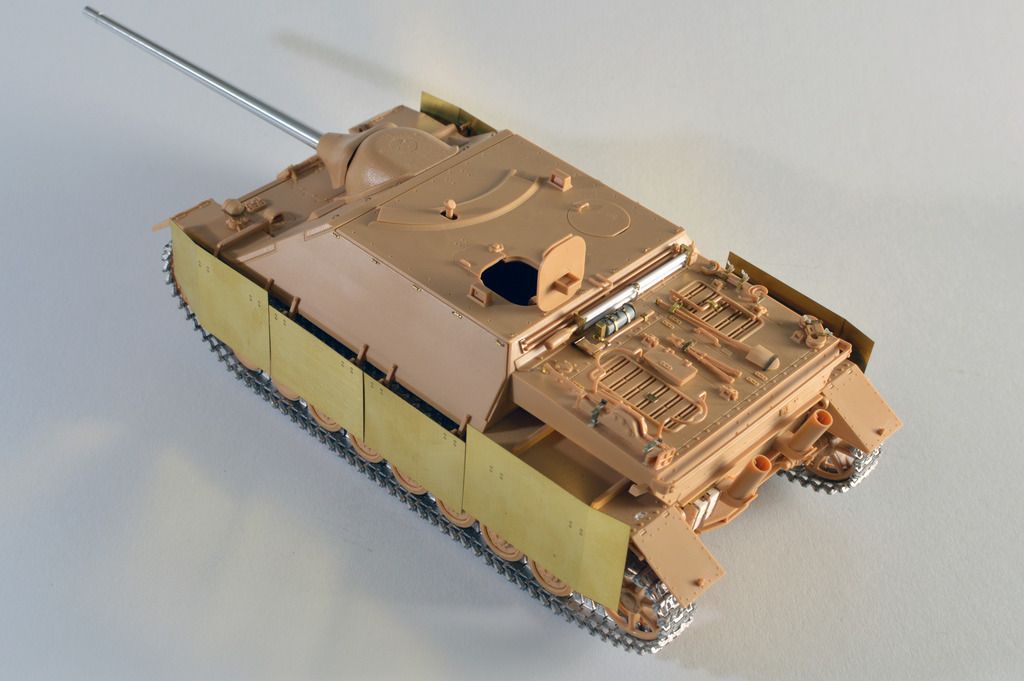
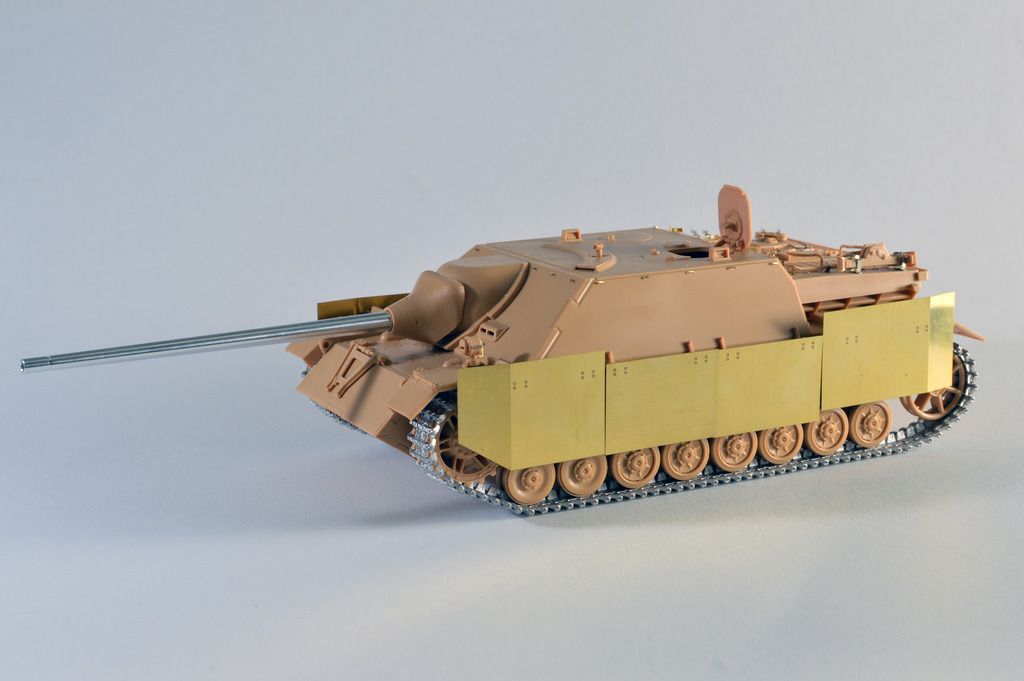
Hosszú vajúdás után végre összeraktam a járművet. Már csak annyi hibádzik, hogy ha a festéssel készen vagyok, akkor a rádió drótozását be kell fejeznem, azt is lefesteni, és összeragasztani a tornyot, a löveget és a jármű testet. De egyelőre örvendezzünk annak, hogy az építés 99%-ban készen van, jöhet a festés. Az apróságok, amiket ebben a posztban változtatásként célul tűztem ki magam elé, mind sikeresen megoldásra kerültek.

It was a long time to build it but the vehicle is 99% ready. The only remaining build task is to apply the wiring to the radio after finishing the general paint session. Following that I will glue the upper and lower hull together with the gun. I am pleased as I successfully applied all the changes what I set as a goal in this post to replicate the No. 35 vehicle as truly as possible...


2017. október 17., kedd

Kübelwagen story #1

A Kübelwagen egy nagyon szerethető makett, nem csak a formája, hanem a Tamiya szokásos minőségű tervezése és kivitelezése miatt is. Egy-két részt már összeraktam, egyelőre várok a motor szettre, ami holnap talán már itt is lesz. Az Aber feljavításból nem mindent fogok felhasználni, a fordítható első kerekeket például nem, de a tetőponyva működő "rudazatát" azt lehet, hogy igen, még nem döntöttem el. Addig is apróbb feljavításokon szöszölök, mint például az üzemanyagtartály, ami szerintem jobban néz ki rézzel.

Egyelőre azon is töröm a fejem, hogy a festést hogyan végezzem. A belső részeket nagyon nehéz, sőt lehetetlen lefújni, ha összeraktam, szóval lehet, hogy apránként festem majd, meglátom.
Addig is a jelenlegi állapot, és némi frissen beszerzett eszköz. A Tamiya vágó kiváltképp a kedvencem.


I've started the Kübelwagen and as always it's amazing to see Tamiya kits to fit perfectly, almost without gluing. I'm waiting for the engine set so only smaller sub assemblies are in progress but I use some of the Aber PE. I skipped the working first wheel steering mechanism but planning to do the canvas holder, also working one. In the meanwhile I just acquired some new tools. The Tamiya cutter is my new favourite. Sharp and nice pointy - I can cut parts so nicely that hardly any cleaning is required...


2017. május 22., hétfő

PE problem

I've tried to use Voyager PE but soon had to give it up. The separator panels between the wheels are very bulky and ugly right from the set. The PE would look way better and far more accurate in scale. The problems are tough:
- it is wider than the kit part and to cut/shape it would be pain (eight times...)
- it has no real surface to glue. I tried with small L shaped brass strips but were still too fragile
So finally I decided to use the kit parts. The first pair has been sanded to let the first return roller work but the other three pairs were left as they were. Hardly will be visible when finished.
Otherwise the kit goes together swiftly. Not a Tamiya kit but far better than I expected.


2017. május 15., hétfő

It's huge

Compared to my previous builds the T-35 is huge. It seems that the lower hull is slowly closing to the finish but now I have the big question: to use or not to use. The photoetched side armor / running gear cover. With thousand bolt heads which need to be individually glued/soldered. I'm not convinced that the PE would add so much to the final visual result to worth several hours of eye-popping bolt-head-job. The kit armor piece is nicely moulded and fairly represents the original (according to the few photos I have) and... well... I'm not a time-billionaire. Unfortunately. So I'll go with the kit side (and wasted some money on the PE...).
So far here we are:


2017. február 23., csütörtök

Jagdpanzer IV --> 99.5%

I love this beast. One of my favourite WWII vehicles with its low profile and dangerous gun. The build is almost ready. Really few parts need to be glued on - spare wheels, convoy light, a few links of spare tracks to the rear deck holder, chains and... and it seems, nothing else. I hope next week it will be primed and painting will start.


2016. október 24., hétfő

Tools and things

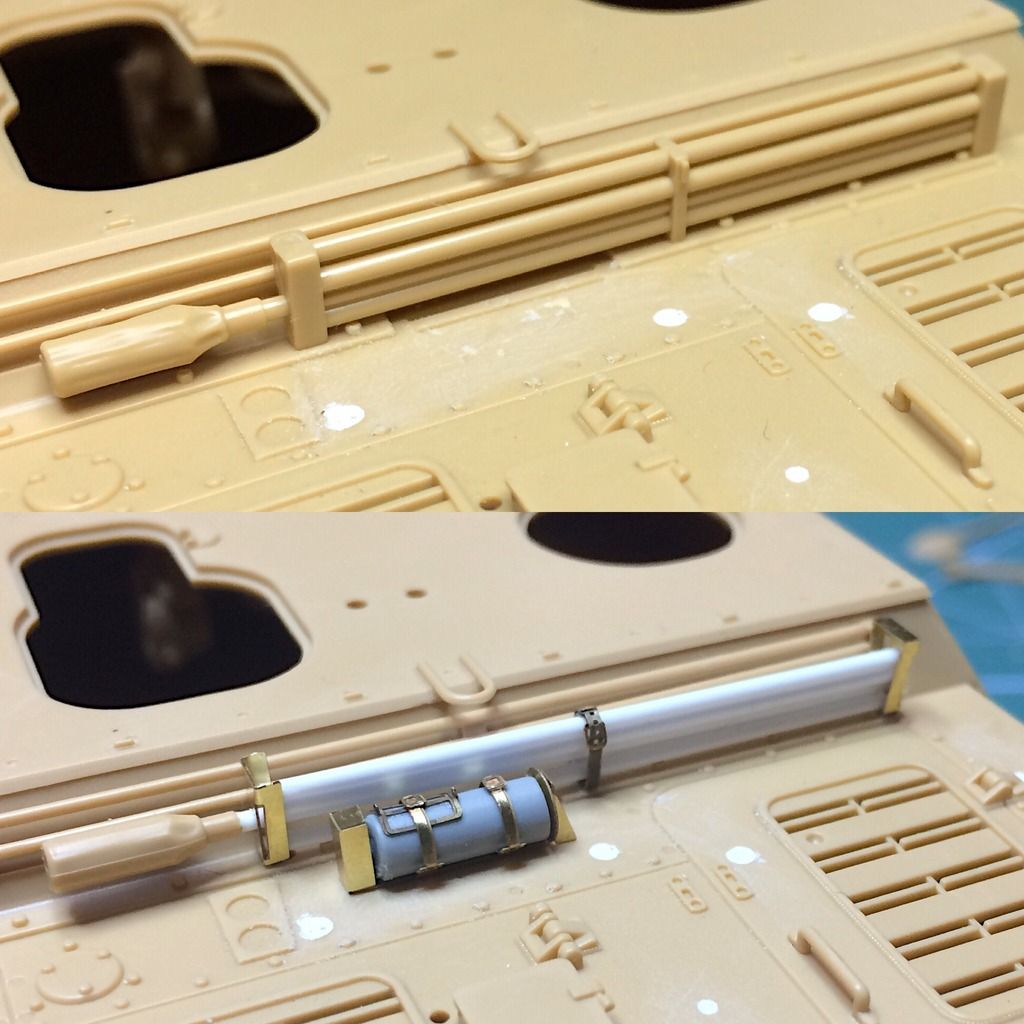
Friuls ready. Now the tools on the rear deck... I clean the kit parts from the moulded-on details to be replaced by PE. The barrel cleaning rod was schratched from plastruct rods and looks nice (though the original kit part looked well, too).

Fire extinguisher was from the stash (some of the Dragon kits had a redundant one) and also looks better than the also good kit part.

2016. október 3., hétfő

Cleaning the rear deck

Small update at the weekend: I started to cut parts and fill holes on the rear deck to enable the fitting of upgraded tools with PE clamps, holders, etc. Not a visually interesting step but I put a pic here for the record...